
Events
The Essential AV & Recording Prep Checklist for Event Organizers
8 min read
(Because picking sandwiches is easy. Picking your recording partner isn’t.)
If you’ve ever organized a conference, you know that catering is the easy part. But AV and recording? That’s where things can get tricky. It’s a technical world, and not everyone speaks that language.
That’s why it’s so important to clarify who does what, what to prepare, and what to expect from your recording partner. The better aligned you are before the event, the smoother things run when the lights go on.
Here’s a practical checklist built around the real event timeline — from first contact to final delivery.
BEFORE THE EVENT
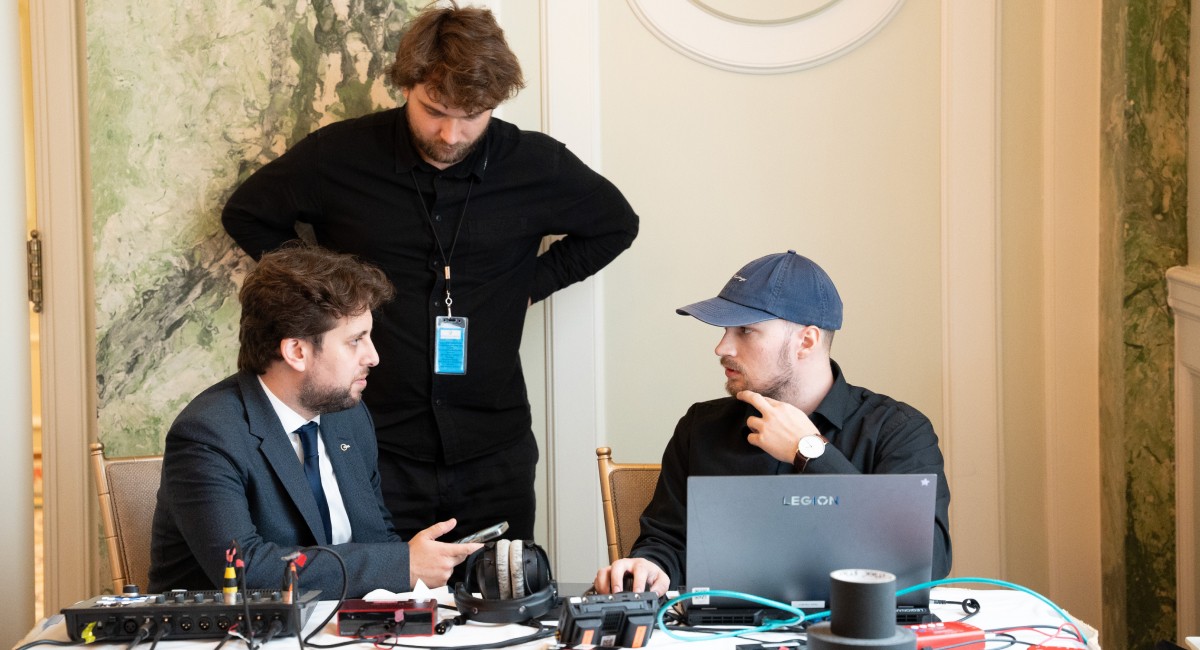
1️⃣ Define Roles & Responsibilities
Clarify who is responsible for what early on. This includes your recording partner, venue technicians, and your own staff. Key areas:
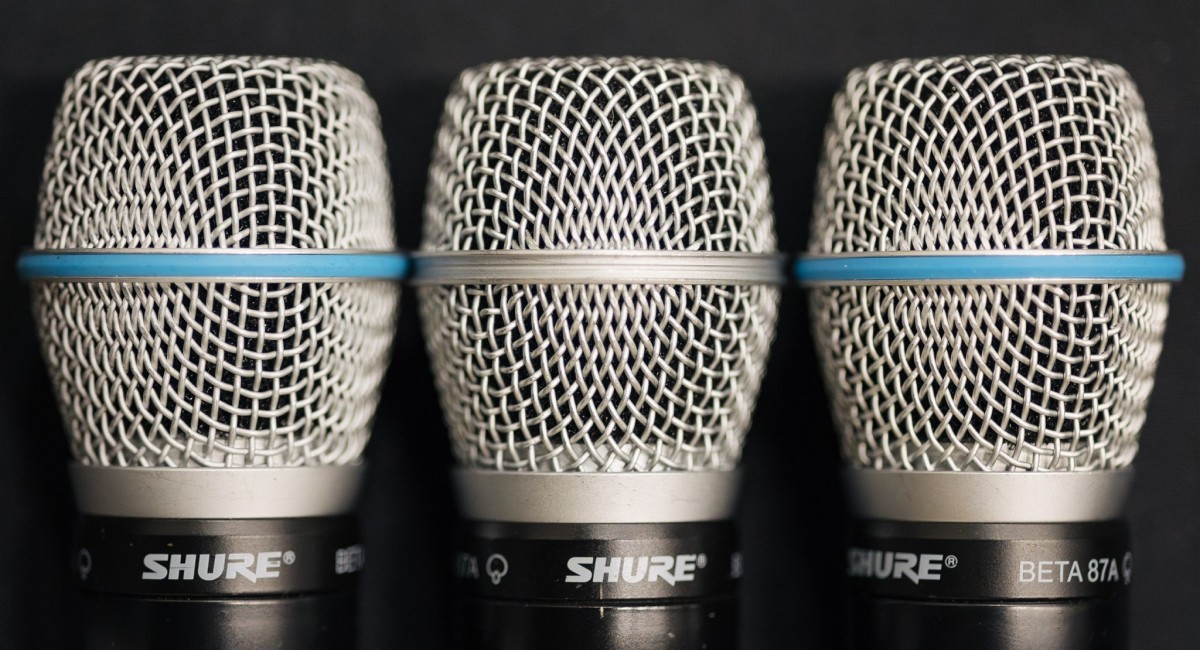
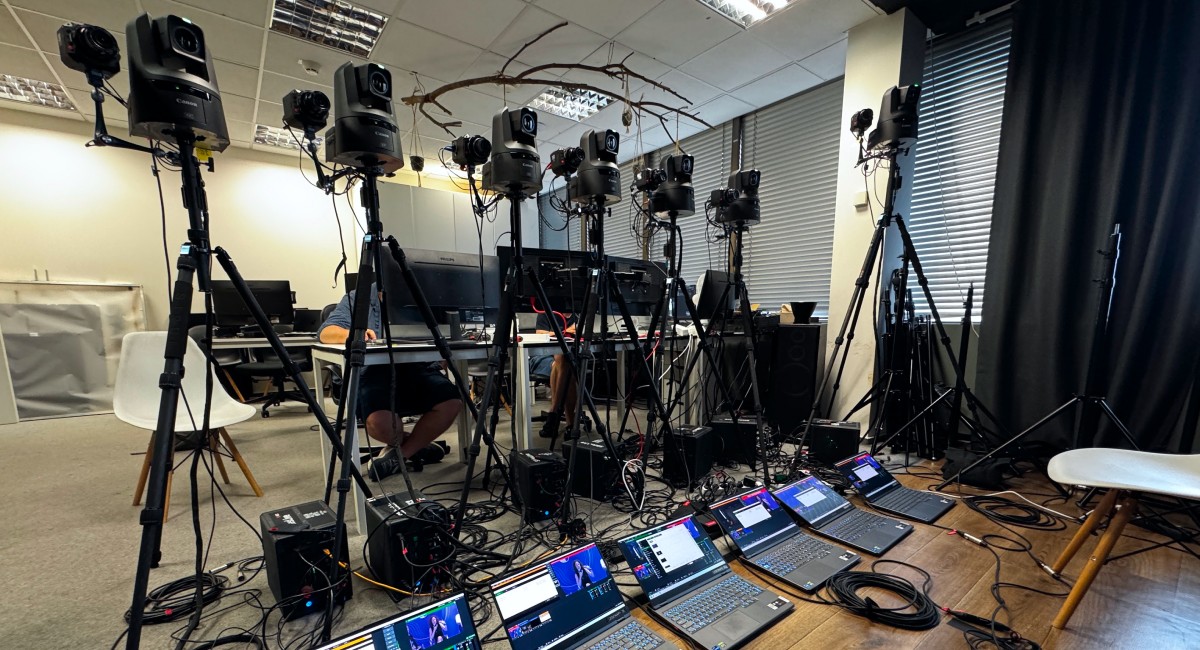
Camera setup and operation.
Microphones, audio mixing, and feeds.
Projection, slide control, and display.
Live streaming and recording workflow.
💡 Pro tip: Create a simple one-page map of responsibilities. Clear boundaries prevent confusion on the day of the event.
2️⃣ Check Their Experience
Ask your AV/Recording partner:
Have they handled events of your size and complexity?
Do they understand your audience — academic, corporate, or tech?
A partner who “gets” your world adapts more smoothly when changes happen onsite.
💡 Pro tip: Request real samples or case studies from similar events — they reveal more than any pitch deck.
3️⃣ Understand What’s Included in the Contract
Make sure you know exactly what’s covered by the price — and what isn’t. Check for:
Recording & streaming: multiple rooms, hybrid sessions.
Post-production: editing, slide-sync, highlight videos.
Hosting & access: delivered files vs. hosted platform.
On-site support: technician hours, remote monitoring.
Travel & setup fees: included or extra.
💡 Pro tip: Ask for a line-item quote. Transparency here isn’t nitpicking — it’s smart planning. And prevents surprises.
4️⃣ Share Your Event Details Early
Send your agenda, room layouts, and speaker list as soon as possible.
Even small things — stage position, lighting setup, or seating style — can change how cameras and microphones perform.
Keep your AV partner in the loop about updates; it saves a lot of time during setup.
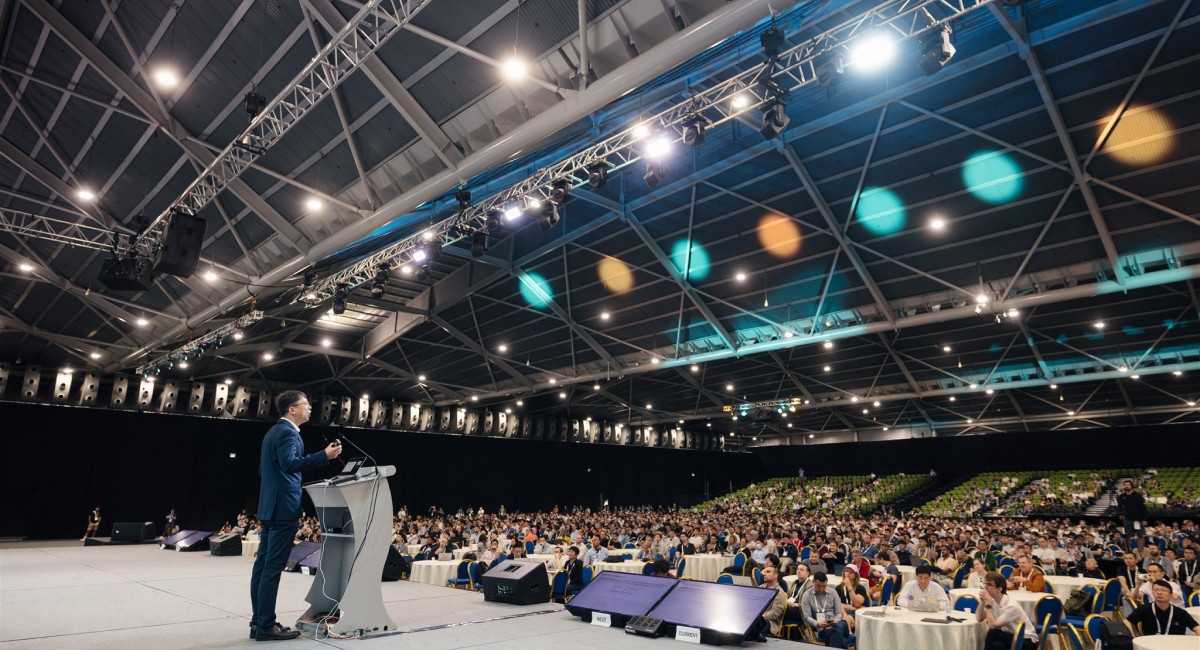
5️⃣ Check the Venue & Technical Infrastructure
Walk the venue together if possible.
Confirm power access, internet connection, cable routes, and audio feeds — and clarify who provides microphones, projectors, or sound support.
A quick site visit and clear division of responsibilities can prevent most technical surprises.
DURING PLANNING
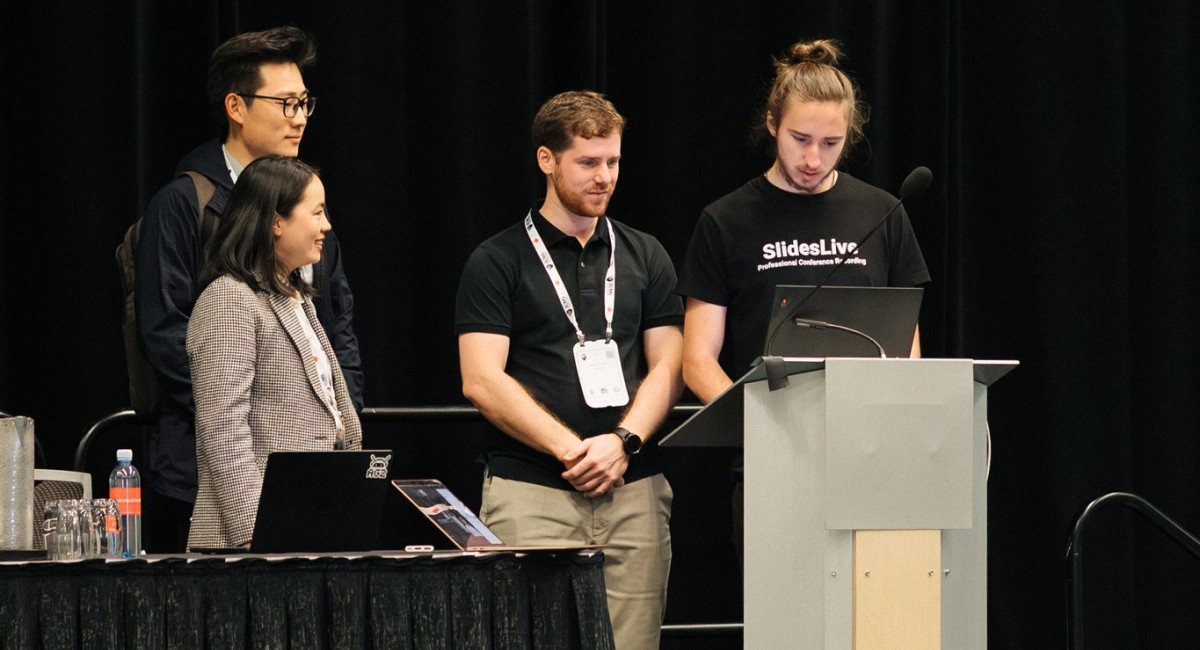
6️⃣ Set Up Clear Communication Lines
Before the event starts, define who talks to whom — and how.
You’ll save hours of stress when things start moving fast onsite.
Assign one main contact from your team and one from the AV partner.
Agree on how you’ll communicate during the event — call, chat, Whatsapp, or Slack.
Clarify who can approve changes or make quick decisions if plans shift.
💡 Pro tip: Do a short “communication test” the day before the event — make sure messages actually reach the right people.
7️⃣ Plan for the Unexpected
Things might go wrong — the question is if your vendor is prepared for this possible situation?
Ask how they handle technical failures (camera drops, cable issues, power loss).
Check if they record to multiple devices and keep redundant backups.
Confirm they bring spare equipment for extra rooms or last-minute changes.
At SlidesLive, we always prepare for both — with layered backups and extra gear to keep every session covered.
💡 Pro tip: Ask your AV partner to describe a time when something went wrong and how they solved it. The best ones will have plenty of stories — and calm solutions.
8️⃣ Plan Delivery & Long-Term Storage
Before the event, confirm:
What recordings you will receive: full sessions, highlight clips, or both.
Delivery timeline.
Access method: hosted platform or raw files.
Duration and method of long-term storage.
💡 Pro tip: Knowing this in advance helps with marketing, reporting, and archiving for future events.
DURING THE EVENT
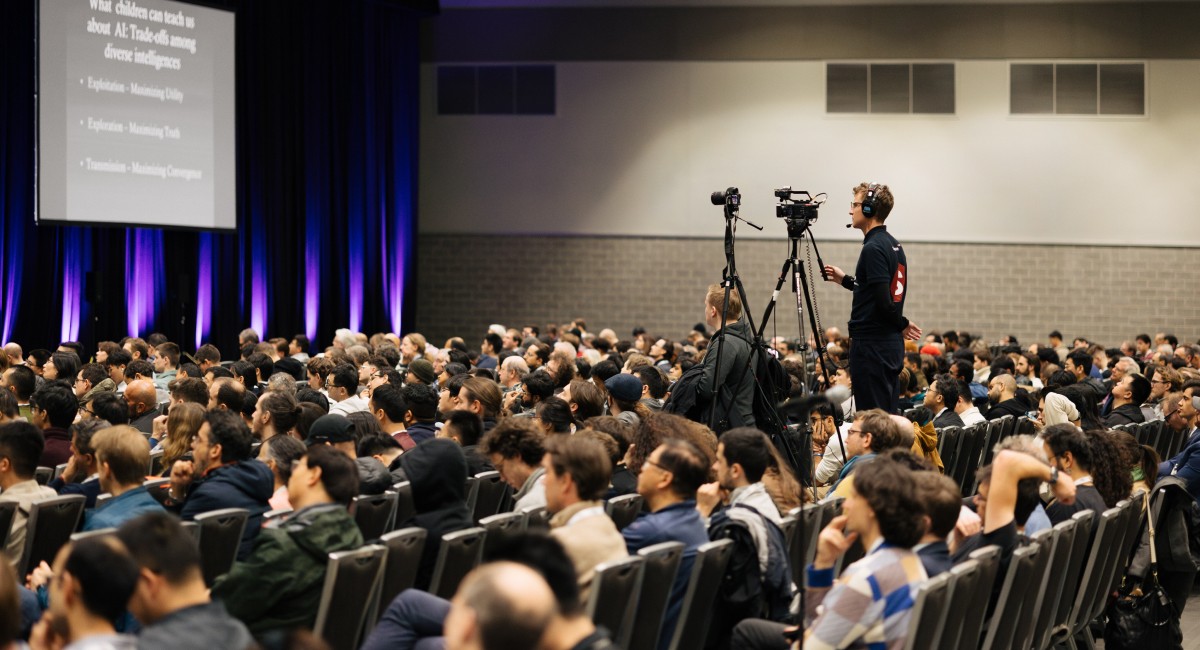
9️⃣ Keep Things Running Smoothly
During the live event, your role shifts to coordination:
Confirm the AV team is actively monitoring cameras, microphones, and streams throughout the day.
Keep open communication for quick decisions on schedule changes, speaker swaps, or added sessions.
Make brief notes about any issues or timing changes — they’ll help during post-production and next-year planning.
💡 Pro tip: The smoother it feels from the audience’s point of view, the better your coordination behind the scenes probably is.

AFTER THE EVENT
🔟 Keep the Relationship Going
Share feedback with your AV partner.
Discuss what worked and what could improve.
Start planning for your next event.
Consistency builds quality and makes future productions smoother.
A great recording doesn’t happen by chance — it happens with the right partner.
Because the best AV & recording partner isn’t just a vendor. They become part of your event team — someone who helps you capture ideas, share knowledge, and extend the impact of your event far beyond the closing day.
That’s exactly what we’ve been doing at SlidesLive for more than 13 years — helping organizers around the world preserve their conferences, workshops, and summits with quality that lasts.
👉 Curious how SlidesLive answers these questions? Explore our case studies or connect directly with Katie or Gareth from our U.S. team — they’ll help you plan your next event with confidence.
✨ Your checklist is ready. Now let’s make it real.
Talk to our team and see how we can turn your next event into something truly unforgettable — both live and on video


